How to Start a WordPress Blog in 2020


Creating a WordPress blog is one of the best options for getting your feet wet in the blogging world. The WordPress platform makes it super simple to start blogging. With this FREE blogging software, users are able select themes, create posts, and grow their audience. You’ve got ideas, so how do you start and grow a blog on one of the most popular sites for writers?
Getting Started
1. Access the Free WordPress Blogging Platform
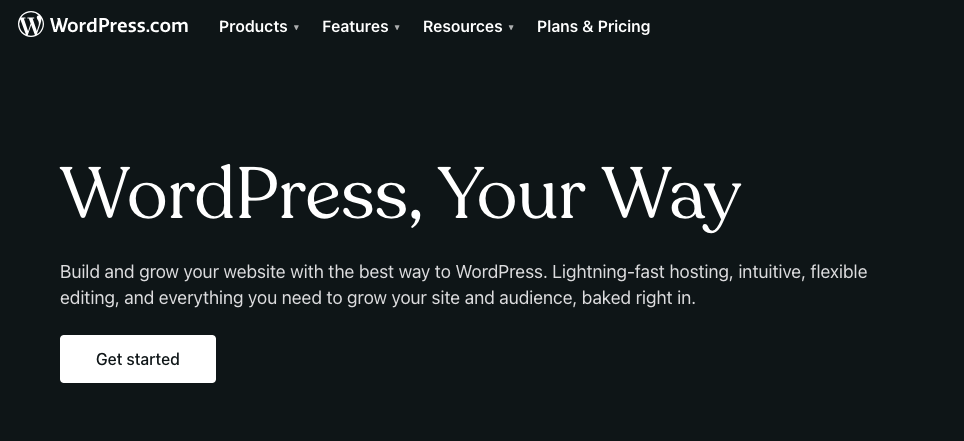
The very first step in your blogging adventure is creating a free blog offered and hosted by WordPress.
After going to the site, you should see a couple of options to click on to get started. You’ll find a large button labeled “Get Started.” Click on it or click here link to start.
2. Create an Account and Choose a Domain
After clicking the link to start your blog, WordPress will prompt you to create an account using your email address. Make sure that you have access to this email, as you will later use it to confirm your account.
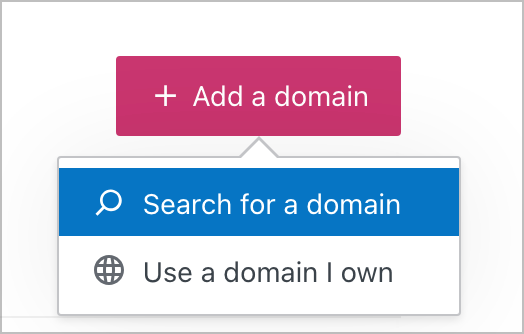
Next, select a domain name for your blog. Here you will decide what you want the title of your blog to be. Afterward, you will have the option to select from free or premium domain names.
3. Prepare the Site for Blog Content
After selecting your domain, you will see your new WordPress dashboard. Here, you will go through a six-point checklist to configure your site. This checklist will include the following items:
- Name Your Site
This is the name of your WordPress Site. For example, if your blog is about tech, you could title it “My Great Tech Blog.”
- Create a Site Menu
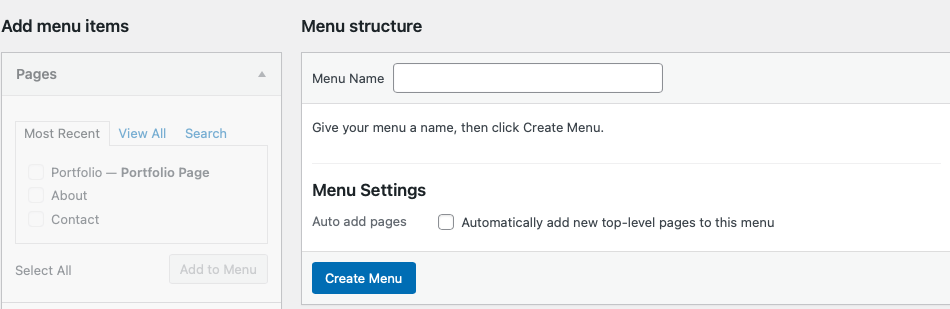
Under Appearance > Menus, you will create additional pages for your site other than your blog posts. Examples of these are: About Me, Contact Page, and the Home Page.
- Update Your Homepage
This is the first page a user will see when they type in your blog’s web address. On this page, you can do things like update your main cover photo, write a message, and change the theme.
- Launch Your Site
The launch your site item in the checklist should be one of the last things that you do, and you only want to launch your site after everything is set up. This makes your website live to the public.
- Confirm Your Email Address
This step confirms that you actually own your email address.
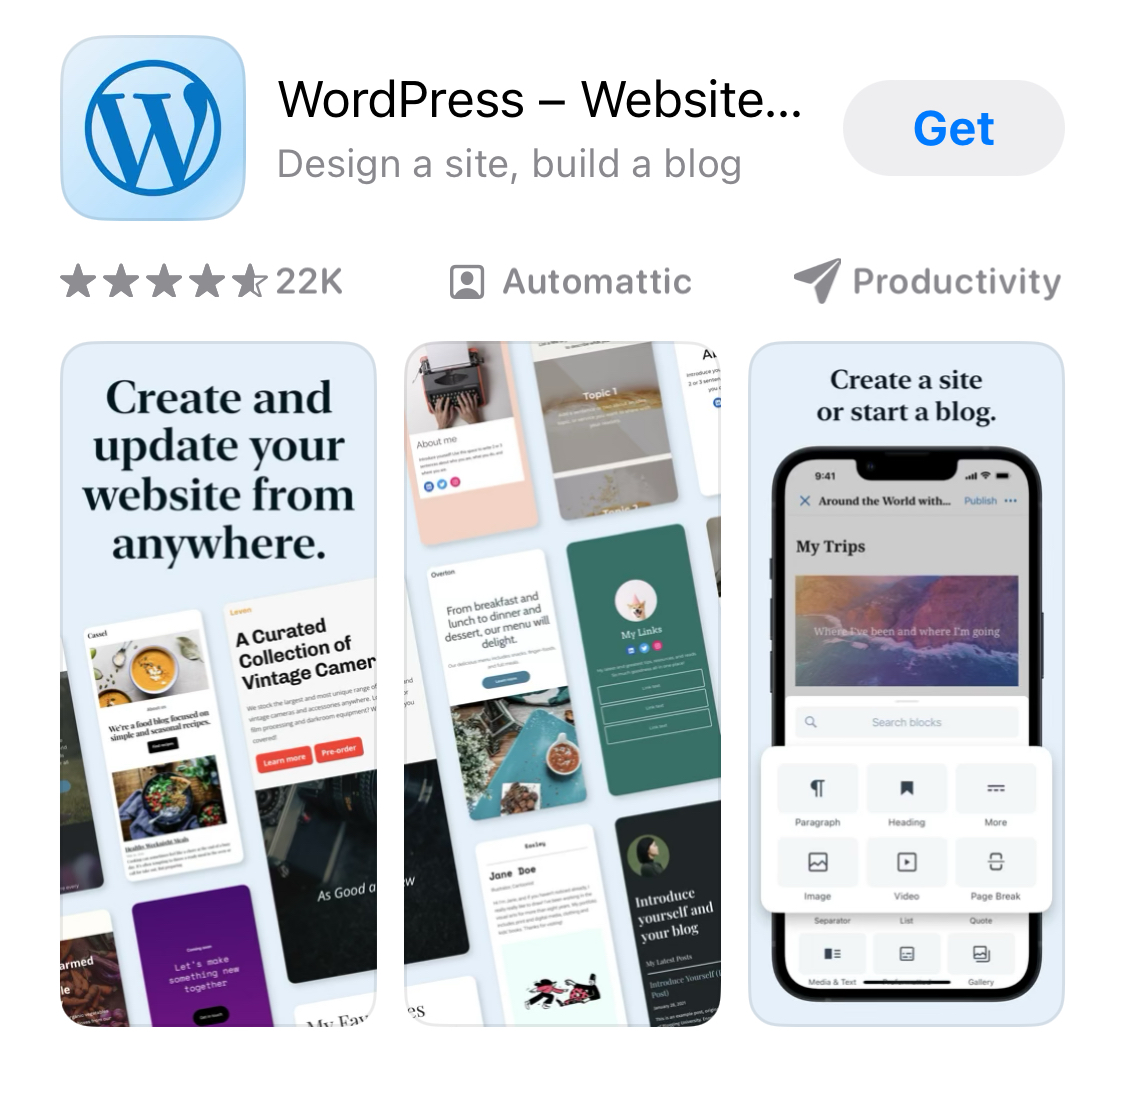
- Get the WordPress App
The WordPress App is a convenient way to manage your blog from a mobile device.
4. Set the Blog Theme and Writing Your First Post
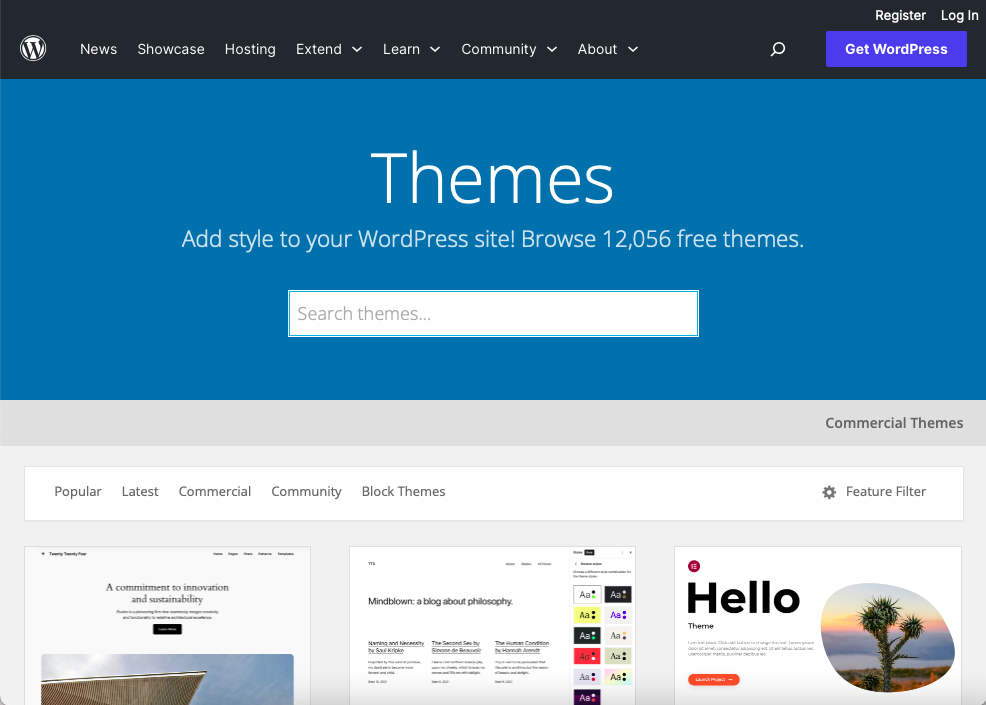
- Setting a Blog Theme
The last thing you need to do before writing your blog posts is to pick a theme for your blog. WordPress will offer a wide variety of free blog themes that customize the look and feel of your blog. To access the Theme marketplace, click on the menu item in the left sidebar titled “Themes.” Then, click on one of the themes and click install. You may also preview a theme before installing.
- Writing your Blog Post
After setting a theme, you are ready to write your very first blog post! Navigate back to the home screen, and click on the “Write Blog Post” button on the right-hand side.
Here the blog editor should appear where you can add a blog post title and start writing. It’s as easy as that. After you are satisfied, you can use the pane on the right side of the screen to add an image, create tags, and choose whether you want to allow people to comment on your posts. The very last step that you need to perform is to publish the post using the blue button at the top of the page.
And, just like that, you have your very own blog in four easy steps. There are other settings to dive into as you get more comfortable (such as SEO optimization) and start gaining an audience, but for now, these are the basics to get you started. Now that you have a blog of your own, you can share your ideas with the world, one post at a time.
Happy blogging!

Comments